Archive for September, 2011

What equipment do you want Fruit Share to offer?

We have some funding to purchase equipment for Fruit Share volunteers to use – hurray! Now the question is, what equipment would YOU like us to purchase? We would love to hear from you. What do you feel was lacking this harvesting season? What tools and toys would you like to have the opportunity to use in the future? Please answer the poll and leave a comment with other suggestions and ideas!

Apple chutney recipe

Jars of chutney, all lined up!

Ingredients

2 ¼ lbs tart apples, peeled, cored and diced

2 medium onions, finely chopped

2 ½ cups coarsely chopped raisins

3 cups brown sugar, packed

4 tablespoons mustard seed

2 teaspoons ground ginger

1 ½ teaspoons salt

¼ teaspoon cayenne pepper

3 cups cider vinegar

 Method

1) Combine all ingredients in a large heavy saucepan.  Stir over medium heat until sugar dissolves.

2) Bring to a boil, stirring frequently.  Boil gently, uncovered for about 35 minutes until thick. Stir more often towards the end of cooking time to prevent scorching.

3) Fill hot sterilized jars to within ½ inch from top.  Place sterilized metal lids on jars and screw metal bands on securely.  For added assurance against spoilage, you may choose to process for 5 minutes in a boiling water bath.  Makes 3 ½ pints.

Recipe courtesy of Mary Jane’s Cooking School.

What a Pick!

Look at this amazing produce!  Thanks to a very generous country gardener (my sister) for sharing this bounty with Fruit Share.  Proof that we’ll pick and share any edibles we can get our hands on.

100 lb of beautiful vine ripened tomatoes

23 lbs of green and orange bell peppers, jalapeno peppers and habanero peppers

10 lbs of lovely eggplants

one delicious, 9 lb watermelon

All in all 140 lbs of fruits and veggies, all except the watermelon a few tomatoes and peppers went to Siloam Mission.

What a bounty!

Thank you!

Apple chutney workshop

Earlier this week, Mary Jane taught some Fruit Share volunteers how to make apple chutney! It was a really fun workshop, and after the chutney had been cooked, everyone took part in the canning process and learned about how to properly seal jars. Between two recipes – regular apple chutney and ginger apple chutney – we produced around 50 jars of chutney in total! We’ll be posting the two chutney recipes over the next couple weeks.

After we mixed all ingredients together and they were well-cooked, we used a special funnel to transfer our chutney from the enormous pots on the stove into the canning jars.

Then, we used a tool to squish the chutney in the jar to ensure that there were no little air pockets or bubbles.

Next, the filled jars were placed in a special canning pot so that the lids would seal properly.

We set the jars to cool and dry off on a towel. Mmmmm apple chutney!

There was a lot of compost after we had peeled, chopped and diced our ingredients! And just look at that big beautiful bowl of apples in the background.

Now to decide what to do with all that chutney! What’s your favourite recipe using chutney?

Thank you to Mary Jane for facilitating a fun and educational workshop! She is facilitating the next two workshops, one which will feature apple butter and fruit leather, and the other which will feature pumpkins. Please contact [email protected] for more information or if you would like to sign up for either of those fruit preserving workshops.

Manitoba Fruit Kompot

Valeria, one of our very active volunteers, shared this recipe idea for Kompot with us after picking some Manitoba pears.

Kompot , according to WiseGeek.com, is a Russian beverage made by stewing fruit in water with sugar, cooling this mixture, and then serving the liquid in a glass. There are a number of different varieties that can be made using this basic structure, and just about any fruit can be used. Though this drink can be served warm or hot, somewhat similar to a mulled cider, the flavors will intensify while cooling so it is typically served cold. Kompot can also be made using dried fruits, in which case it is usually referred to as uzvar instead.

Valeria’s Manitoba Fruit Kompot

Ingredients

There’s no right or wrong to the amount of fruit, the variety of fruit or the amount of sugar you use for Kompot.  Use what you have available and adjust the sweetness to your liking.  The following is just a suggestion to get you started.  The idea is to infuse the fruit flavour into the water.

3-4 Apples
3-4 Pears
2-3 stalks or 1/2 cup diced Rhubarb
1 cup Sugar
10 cups Water

I just had apples and pears, no rhubarb for this Kompot

Prepare the fruit  -  wash, core, slice.
Place water and sugar in a large pot.
Bring to a boil.
Add fruit.
Bring back to a boil.
Reduce heat and cook covered for about 10 minutes.
Cool for several hours to let flavours intensify.
Serve with or without the fruit.
Enjoy your drink!

What about the fruit?

Eat it!  Here are some ways to enjoy it:

  • Pour into the drinking glass.
  • Strain out and serve in a dessert bowl.
  • Use it for a fruit smoothie.
  • Puree it and use like applesauce.
  • Puree it, place it in the dehydrator and make fruit leather.
  • Serve with ice cream.

Apple cobbler recipe

I’ve saved the best for last (at least, in my opinion!). This was the third and final recipe used in Katie’s baking workshop this month, and it was to die for. I found myself snacking on it raw at home – you just know it’s a good recipe when it can be enjoyed before it’s even cooked

Warm Apple Cobbler
yields 1-9X13 glass dish

APPLE BOTTOM
13 apples baking/green/granny smith
1/4 cup sugar
1/4 cup brown sugar
1/4 tsp ginger
1/8 tsp cloves
1/4 tsp nutmeg
1/2 tsp cinnamon
1/4 cup honey
1/4 cup apple cider
1 1/2 Tbsp lemon juice
6 Tbsp butter

TOPPING
2 1/4 cups flour, pastry or all purpose
3/4 cup sugar
1/2 tsp salt
1/4 tsp baking powder
3/4 cup butter
3/4 cup oats
6 Tbsp cream

METHOD
1. Butter and flour a 9×13 dish. Chill.
2. Toss apples, spices, honey, lemon juice and sugars.
Pour into baking dish. Top with butter pieces.
3. Bake 350F for 30 minutes. Cool.
4. Mix topping ingredients all together.
5. Pour topping onto baked apples.
6. Bake 375F for ~45 minutes.
7. Cool 15-30 minutes before serving (to set).

Thank you Katie for providing this recipe with us and for teaching us how to put it together at the baking workshop!

Apple Kuchen (cake) recipe

Apple cake is a wonderful dessert to enjoy in the autumn months. Decorate the top of the cake with apple slices artfully arranged for gorgeous presentation!

Apple Kuchen (cake)
yields 1-9X13 glass dish

CAKE
3/8 lb butter, softened
3/4 cup sugar
3 eggs
1 tsp vanilla
1 1/2 cups flour
1/2 tsp baking powder
1/2 tsp salt
granulated sugar to sprinkle on top

APPLE TOPS
5 apples cored, sliced*holding together at the middle
2 Tbsp butter, melted
powdered sugar to sprinkle on top

METHOD
1. Butter and flour a 9×13 dish. Chill.
2. In a large bowl, cream butter and sugar until light.
3. Add eggs and vanilla. Beat until light and fluffy.
4. Mix dry ingredients in a separate bowl.
5. Core and slice apples. Keep in halves (with lengthwise cuts to vent).
6. Add dry ingredients to creamed mixture, mix until combined.
7. Spread smooth dough into prepared pan.
8. Press apple halves cut side down into dough. Brush with butter and sugar.
9. Bake 425F (400F convection) for 25 minutes, until golden brown.
10. Cool and sprinkle with powdered sugar.

Thank you to Katie for providing us with this recipe and for teaching Fruit Share volunteers how to make it at the baking workshop earlier this month

Recap of the baking workshop

We were delighted to have Katie Anderson, Fruit Share neighbourhood team leader, facilitate a baking workshop earlier this week. As an experienced pastry chef, she taught us how to make all kinds of delicious baked goods!

Delicious apple pie

We were having such a good time and enjoying the fruits of our labours so much, in fact, that we missed out on a number of photographic opportunities (apart from the above apple pie). Oops!

However, we do have a number of recipes, which we will share with you over the next few weeks (such as the recipe for apple pie, below).

Some of our participants brought their children along to have fun learning how to bake. We spent several hours chopping and slicing apples, mixing cake and crumble batter, and rolling out dough for pies. Every single dessert tasted amazing – I highly recommend all of the recipes we made at this workshop.

Thank you so much, Katie, for doing a wonderful job of this fun workshop!

American Apple Pie Recipe

CRUST
1/4 lb butter/lard
1 1/3 cups flour, pastry
2/3 tsp salt
3 tbsp cold water
1/4 Tbsp vinegar

FILLING (for a glass dish; use a little less for pie plate)
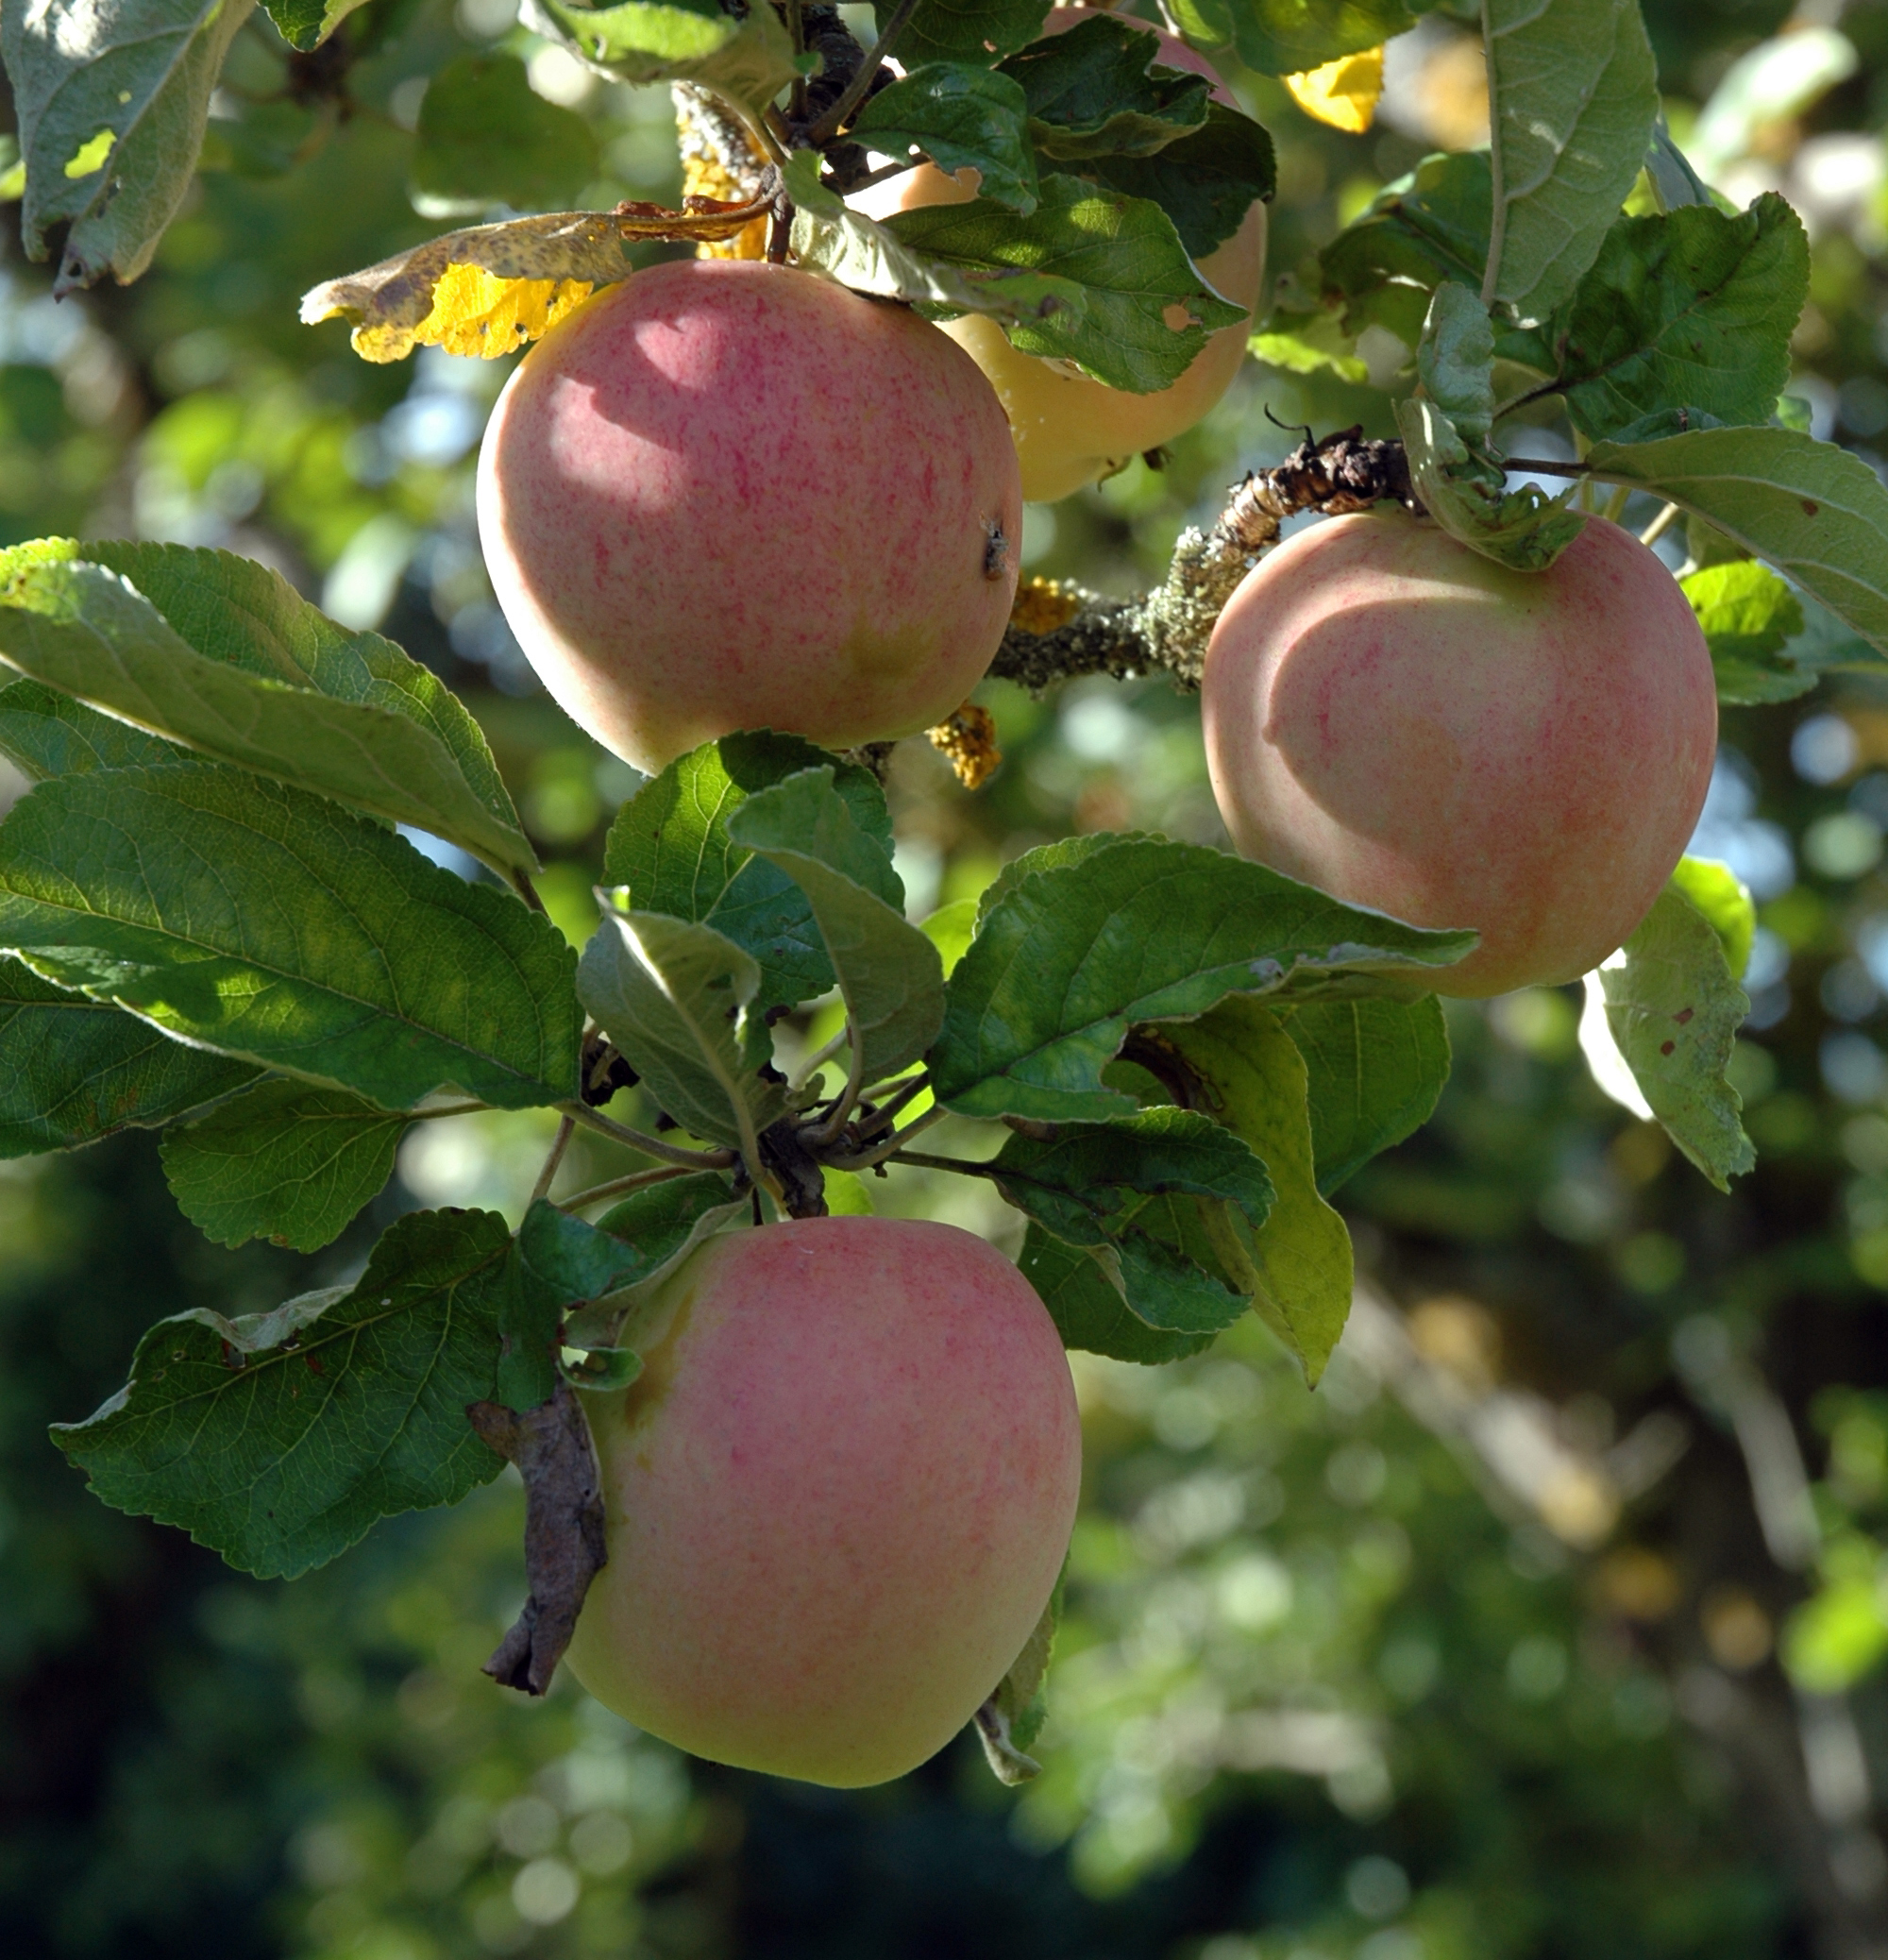
5 cups baking apples (~6 apples)
1/2 cup brown sugar
1 tsp cinnamon
2 Tbsp flour

METHOD
1. Butter and flour 9″ pie plate. Chill.
2. Mix cold fat, flour and salt with a fork or pastry blender. Work quickly and touch very little. Keep large pea-sized pieces of fat for flaky dough, or smaller cornmeal-like pieces for mealy dough.
3. Add cold water and vinegar, mix quickly until smooth dough is achieved.
4. Work into a boule. Wrap and store in fridge.
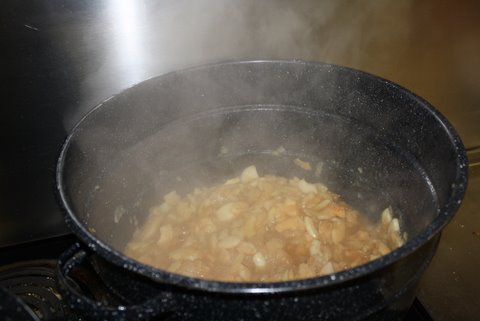
5. Slice cored apples. Toss with dry ingredients.
6. Split dough into 2 equal parts.
7. Roll each piece into round, about 3mm thick.
8. Gently roll one piece of dough onto rolling pin, line pie shell. Eggwash. (Chill if freezing)
9. Fill pie with filling. Cover with top crust and score (or use lattice).
10. Bake
Fresh pie: Bake 320F for 35 minutes
Frozen pie: Bake 400F for 15 minutes.
Reduce temp to 350F and bake until bubbles over, ~60 minutes.

Fruit and nut energy bars

These are a tasty way to use up some apples. Try it out with crab apples or eating apples – any kind works well! This is a great option for anyone with allergies or intolerances and can’t eat normal granola bars (psssst… if you have nut allergies, just substitute the nuts with seeds!).

It doesn't look like much, but it sure tastes good!

They’re also a much healthier snack for kids to enjoy in their lunchbox, now that it’s back to school.

Ingredients

- 2 apples, cored and chopped

- 1/2 cup each sunflower seeds, walnuts and raisins (or any other combination of nuts, seeds and dried fruit)

Directions

1) Place apples in the bowl of a food processor and pulse until finely chopped. Leave the peel on for extra nutrients!

2) Add all other ingredients and continue to pulse until well-mixed and fairly smooth.

3) Form mixture into about 12 bars and arrange on the tray of a dehydrator.

4) Dehydrate for about 15 hours, flipping partway through.

Variation: you can also make these in the oven; just keep your eye on them so they don’t burn! Temperatures will vary based on the oven, but aim for a lower temperature.

What are your favourite ingredients to add to energy bars?

Winnipeg apples

Some photos that a few of our volunteers submitted:

Beautiful apple tree

There are fruit trees all over the city.

Boxes and boxes of apples!

...and boxes

Working together with other volunteers is one of the best parts about Fruit Share.

Submit your photos to [email protected]!

Composting in Winnipeg

We are delighted that so many fruit owners have a compost bin in their backyard. After all, there is always some fruit that cannot be used for human consumption when we’re out at a picking location, so we need to make sure that the fruit still goes to good use – such as being composted!

I think this apple would be better of in the compost bin than in your tummy.

Not everyone knows how to compost, however, and that’s where Green Action Centre comes in. Check out these articles for more information about the basics of composting, options for compost bins, and a Master Composter course available right here in Winnipeg:

  • Basics of Composting: how to get started at home, what you can and cannot put in the compost bin, how to feed your compost, and the roles of water and air in your composting project.
  • Compost Bin Options: what to look for when you buy or build a compost bin – you can even have a compost bin in your apartment!
  • Master Composter Program: available in September and October this year, this is a free program offering hands-on experience to train volunteers on composting so that they can go out there and help others compost. Application and reference forms are required to participate in this program.

How much do you know about composting? Do you have a compost bin in your backyard? Share your composting tips in the comments section below!

Raw apple pie recipe

Our volunteer team leader for the North quadrant of the city, Summer, concocted this amazingly tasty and healthy raw pie recipe. Give it a try with the apples you pick!

You won't have many leftover apples once you've tried this tasty recipe!

For the Crust:
  • 1 cup dates
  • 2 cups brazil nuts
  • 1/2 tsp. sea salt
Grind everything in the blender until it holds together, somewhat like pastry dough. Grease a pie plate (coconut oil works well, but you can use any kind of oil or butter you like). Then press the “dough” in with your fingers evenly over the  bottom and sides of the pan. Put this in the freezer while you prepare the pie filling.
For the Fruit Filling:
  • 4-6 cups fresh fruit
  • honey to taste
  • optional:  coconut, cinnamon or another spice you like, lemon juice
Prepare the fruit you are using (for example, core and peel the apples, pit the cherries, etc.) Slice half of the fruit in small, attractive pieces. Throw the other half of the fruit in the blender and puree, adding honey and other optional ingredients to achieve a taste and texture that you like. When I made apple pie, I added cinnamon and lemon juice and about a half a cup of honey; when I made cherry pie, I added coconut and a little more honey, as the cherries were the sour kind.
Take the crust out of the freezer, and arrange the fruit pieces on it.  Then pour over the fruit puree, and place in the refrigerator for an hour or so to firm up.
Serve thin slices, plain or with whipped cream.  This is rich and delicious, with an amazing fresh fruit flavour!
Thanks for the recipe, Summer! We welcome any recipes from volunteers – please email them to [email protected] so we can share them with everyone.

Fruit Share’s First Grape Pick

Yay, grapes!

Here are some photos of our first grape pick.

One large grape vine climbing up the side of the garage - Ariel, Ruth and Bev

Beautiful bunches of Valiant grapes

My kids Melanie and Aidan helped too

Grapes are picked by the bunch


Hold the bunch in one hand and snip with sharp scissors or garden shears

We harvested about 20 lbs, we donated 1/3 to RAY

A bowl full of grapes

We’re testing out a few recipes with our grapes.  They’re much more tart than store bought grapes and they have seeds in them – but the kids don’t seem to mind.  They’re munching away on them – so I better come up with a plan soon!

What’s your favourite thing to make with grapes?

Grapes Or Virginia Creeper

Ever wonder about the difference between a grape vine and a virgina creeper?

Before you taste test those dark blue berries, be sure you know the difference because while grapes are edible, virginia creeper berries are not.

Here are some photos to help you distinguish between the two.

Virginia Creeper (leaves distinct leaflets)

Grapes (one solid leaf)

Virginia Creeper

Grapes

If you have grapes, Fruit Share would love to come and harvest them.  If you have Virginia Creepers, leave them for the birds.

Recap of applesauce workshop

Our facilitator, Betty Kehler, drove all the way from Teulon to make and can applesauce with us last week at Fruit Share's second free workshop of 2011.

With our ingredients ready, we were all set to begin chopping, coring and peeling.

Some of us raced to see who could core an apple the fastest - can you guess who won that competition?

Most of the attendees at the workshop hadn't made applesauce and/or canned before, so it was a fun learning experience!

Some of the apples were tiny - but no matter the size, any kind of apple is great in applesauce.

We filled two large canners with apples - one with the peels still on, and the other with the peels removed.

While we waited for our apples to turn into applesauce on the stove, we hung out in the Riverview Community Centre kitchen. It was so nice to put a face to the names of some of Fruit Share's volunteers.

The apples really started heating up...

...and, of course, we all had to taste-test to see how much cinnamon and honey we wanted to add!

When the applesauce was ready, we took turns scooping it into canning jars.

The two canners filled up a lot of jars - we were each able to take home several jars to enjoy at a later date.

Some volunteers packed extra applesauce into a container to have for a snack later rather than canning it.

We used 250 ml jars to hold all of the applesauce.

The chunky applesauce was delicious!

Thank you to the Riverview Community Centre, the CLER program, our facilitator and volunteers for all making this workshop happen! We look forward to our next fruit preserving workshop.